Overview
Foodlay Customer App is a complete, production-ready food ordering application built with Flutter for Android and iOS.
- A full customer app with authentication, ordering, and tracking
- GoRouter-based navigation with bottom tab dashboard
- Localization, theming, and DI built-in
- Google Maps, Firebase Messaging/Analytics/Crashlytics
Basic Usage
- Launch the app and sign in
- Choose location, browse restaurants, open a page
- Add items to cart, review quantities, checkout
- Select address & payment, confirm order
- Track order status until delivery completes
Requirements
- Flutter (Channel stable, 3.41.7) — Dart SDK 3.11.5
- Android Studio
- Xcode 16+ for IPA file build
- Devices or emulators
Environment Setup
Windows
- Download Android Studio Koala 2024.1.2 (bundled JDK 17).
- Ensure JDK 17 is used for Android builds.
- Run the installer (e.g., android-studio-ide-<version>-windows.exe).
- Follow the installation wizard; choose a custom location if needed.
- Select components (Android Studio, Android Virtual Device, etc.).
- Launch Android Studio and complete initial setup.
- Install SDK components when prompted.
- Optional: create an emulator in AVD Manager.
Install Flutter SDK (Windows)
- Download the latest stable Flutter for Windows.
- Extract to a folder, e.g., C:\flutter.
- Add C:\flutter\bin to PATH:
- Right‑click “This PC” → Properties → Advanced system settings → Environment Variables.
- Edit “Path” under System variables → New → add C:\flutter\bin.
- In Android Studio: File → Settings → Plugins → Marketplace → install Flutter and Dart, then restart.
flutter doctor
Linux
- Download Android Studio Koala 2024.1.2 (bundled JDK 17) for Linux.
- Ensure JDK 17 is used for Android builds.
- Extract the archive, move to a preferred location, run setup:
- Install Android Studio: download, extract, move to preferred location, run setup.
tar -xvzf android-studio-ide-<version>-linux.tar.gz
sudo mv android-studio /YOUR_DIRECTORY
cd /YOUR_DIRECTORY/android-studio/bin
./studio.sh
- Install Flutter SDK (Linux): download stable, extract, move to a preferred location, add flutter/bin to PATH.
- Install Flutter SDK (Linux): download stable, extract, move to preferred location, add flutter/bin to PATH.
tar xf flutter_linux_<version>.tar.xz
sudo mv flutter /YOUR_DIRECTORY
flutter doctor
- Install Flutter and Dart plugins in Android Studio (Settings → Plugins → Marketplace), then restart.
macOS
- Download Android Studio for macOS (Koala 2024.1.2 with JDK 17).
- Ensure JDK 17 is used for Android builds.
- Open the DMG and drag Android Studio to Applications.
- Launch Android Studio; complete setup and install SDK components.
- Install Flutter SDK (macOS): download stable, extract, move to preferred location, add flutter/bin to PATH.
tar xf flutter_macos_<version>.tar.xz
flutter doctor
- In Android Studio: Preferences → Plugins → Marketplace → install Flutter and Dart, then restart.
Mandatory Setup
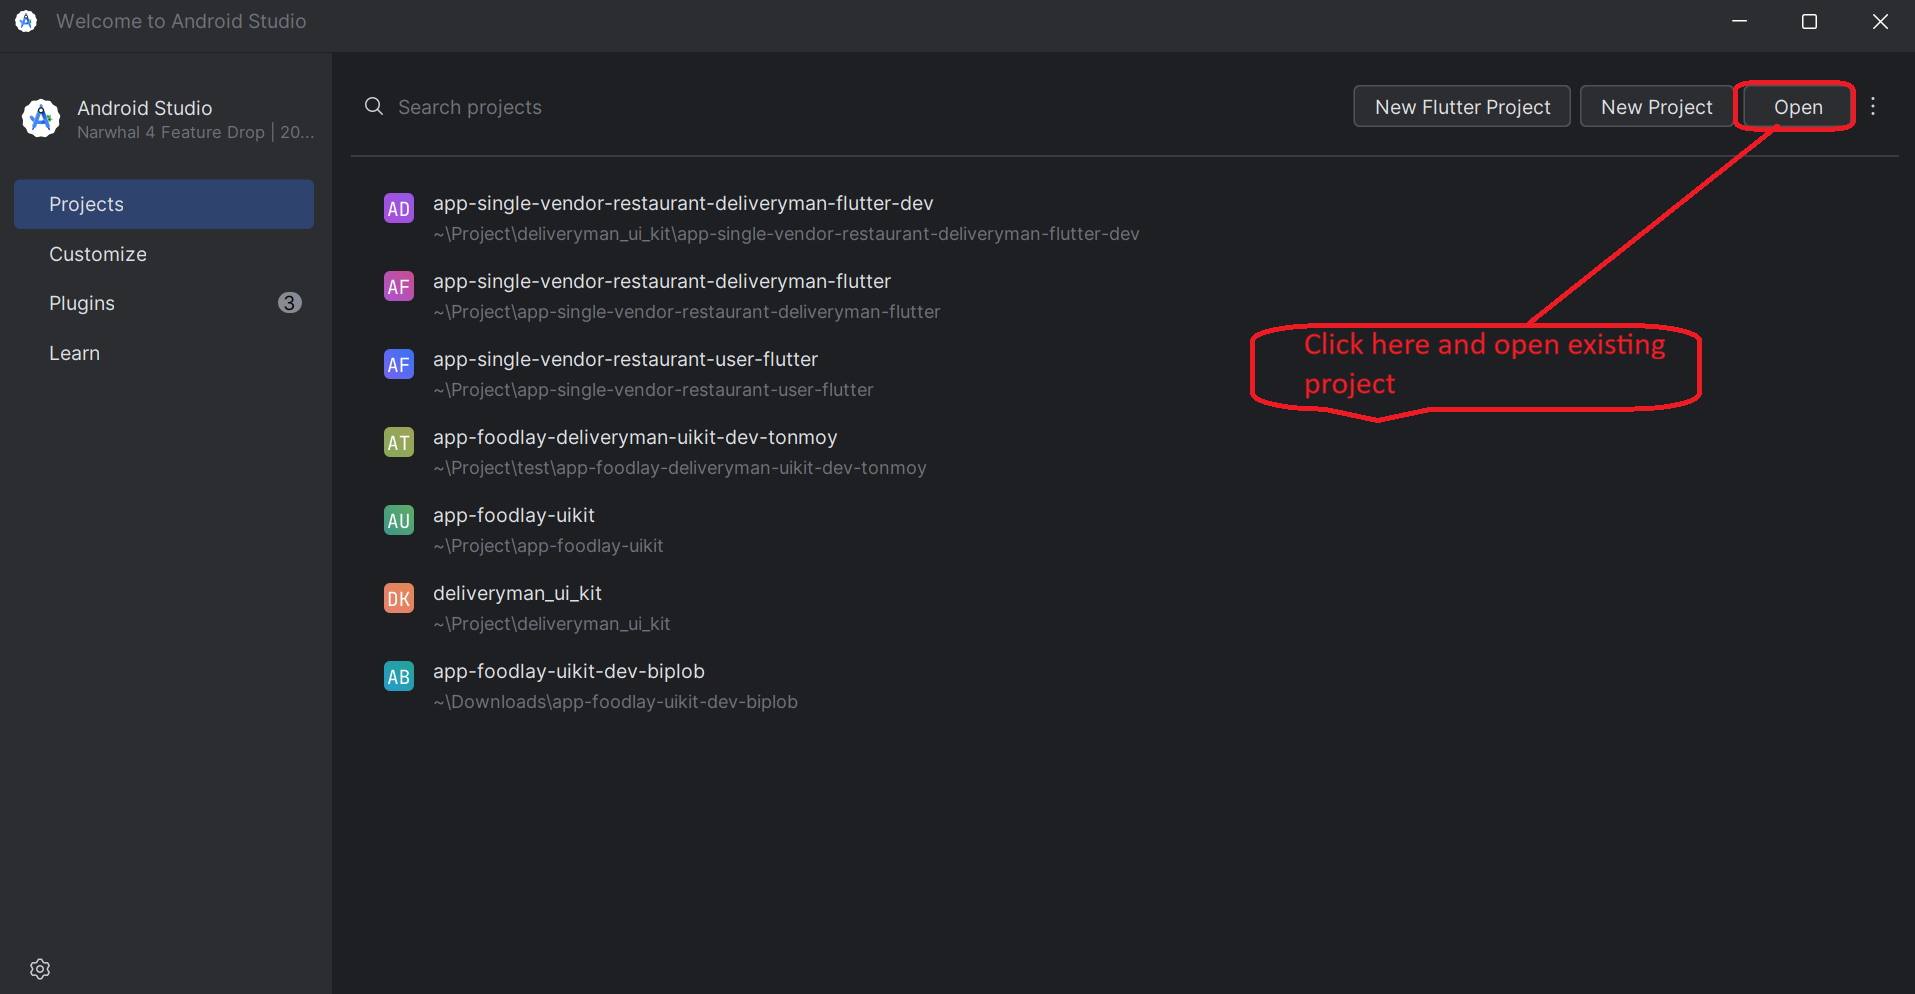
Run an existing Flutter project on IDE
- Verify Flutter and IDE setup in a terminal:
flutter doctor
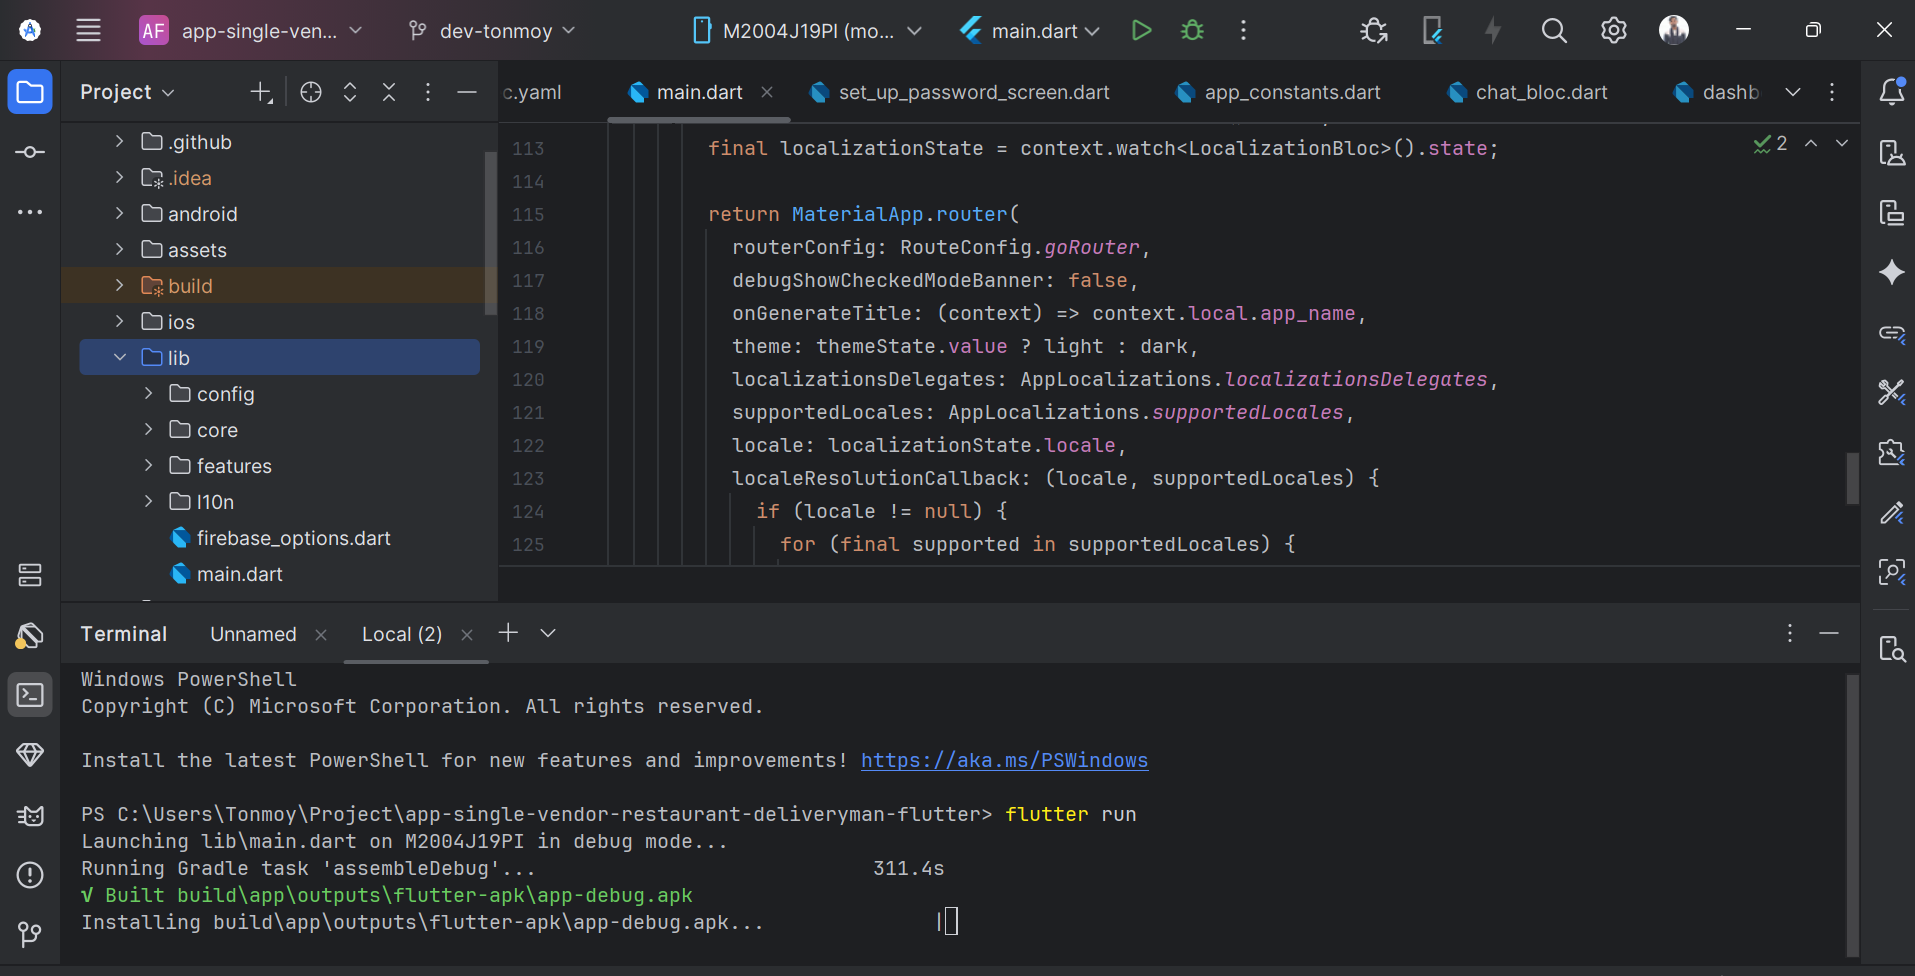
- Open the project in Android Studio or VS Code.
- If dependencies are not prompted, fetch them manually:
flutter pub get
- Run the app from IDE or terminal:
flutter run
Change App Logo & Icon
App Logo
- Go to <project>/assets/images/ and replace logo.png with your logo.
- Use the exact file name logo.png.
App Icon
- Generate icons using your preferred app icon generator.
- Android: replace android/app/src/main/res/mipmap-* with the generated icons.
- iOS: replace ios/Runner/Assets.xcassets with the generated Assets.xcassets.
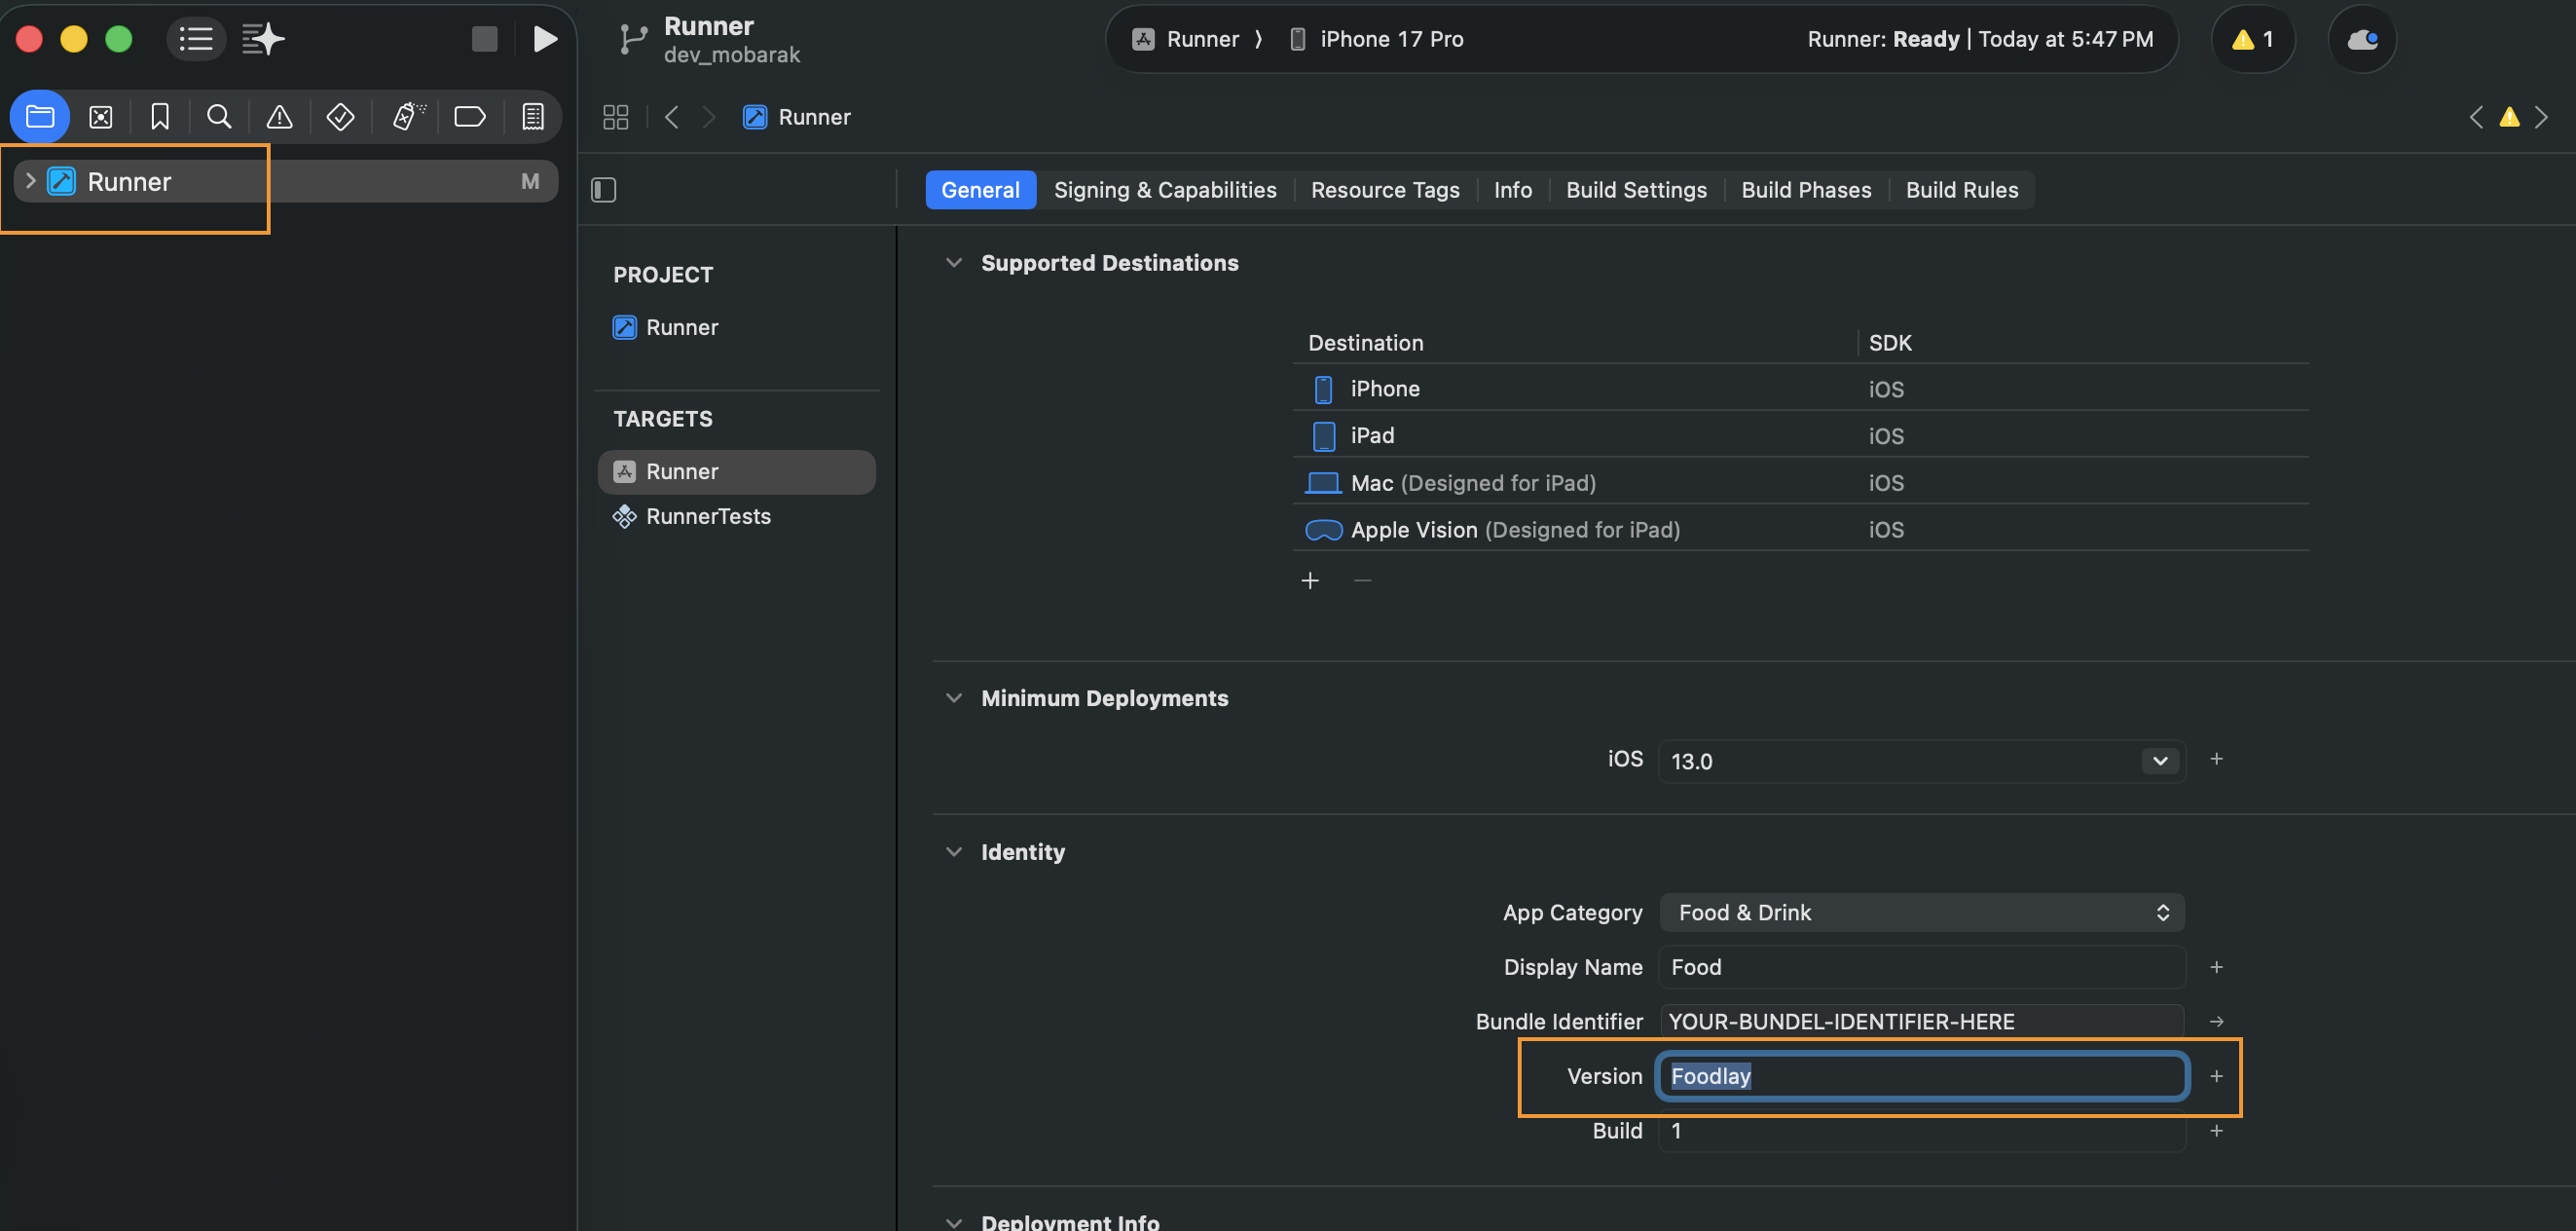
Change App Name
- Update the application name in your constants file:
lib/config/util/app_constants.dart
static const String appName = 'YOUR_APP_NAME';
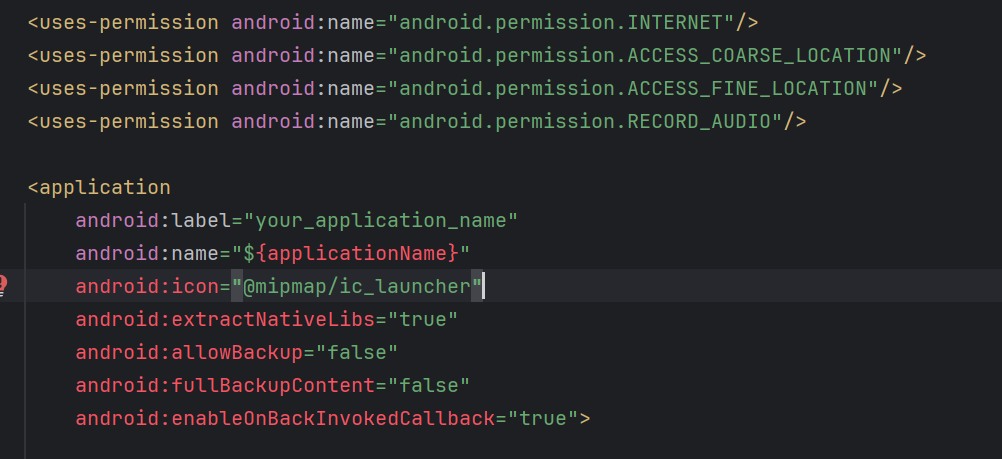
- Android: set the label in AndroidManifest.xml:
android/app/src/main/AndroidManifest.xml
android:label="YOUR_APP_NAME"
- iOS: set display name and bundle name in Info.plist:
ios/Runner/Info.plist
<key>CFBundleDisplayName</key>
<string>YOUR_APP_NAME</string>
<key>CFBundleName</key>
<string>YOUR_APP_NAME</string>
Change Base URL
- Install and set up your Admin Panel first.
- If admin login is https://your_domain.com/admin/auth/login then base URL is https://your_domain.com
- Open <project>/lib/util/app_constrants.dart and set baseUrl.
- Do not add a trailing slash.
Wrong:
static const String baseUrl = 'https://your_domain.com/';

Right:
static const String baseUrl = 'https://your_domain.com';
Change App Package Name
Change the package name before setting up Firebase. Default package is
com.flutter.customer — replace with your own (e.g. com.yourcompany.foodlay).Step 1 — Android: Update applicationId
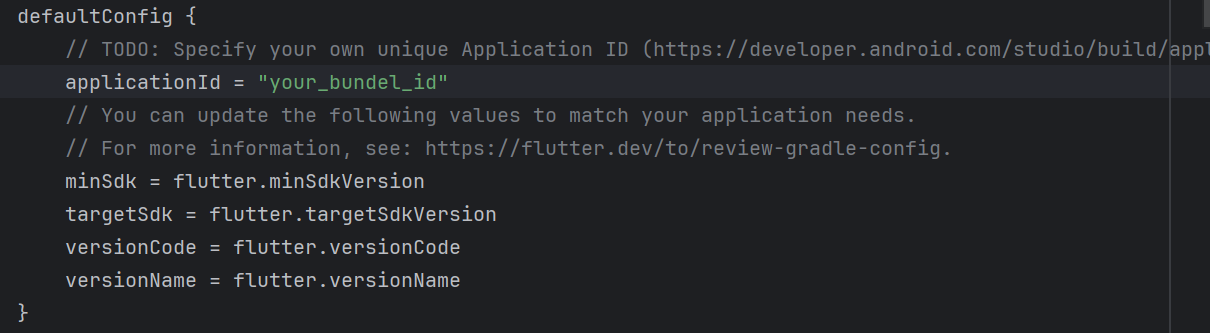
- Open android/app/build.gradle and update
applicationId:
defaultConfig {
    applicationId "com.yourcompany.foodlay"
    ...
}
Step 2 — Android: Rename the Kotlin source folder
- Old path: android/app/src/main/kotlin/com/flutter/customer/
- New path: android/app/src/main/kotlin/com/yourcompany/foodlay/
- In Android Studio: right-click the innermost folder → Refactor → Move, or rename each folder level manually.
Step 3 — Android: Update AndroidManifest.xml
// android/app/src/main/AndroidManifest.xml
<manifest package="com.yourcompany.foodlay" ...>
Step 4 — Android: Update MainActivity.kt
// android/app/src/main/kotlin/com/yourcompany/foodlay/MainActivity.kt
package com.yourcompany.foodlay
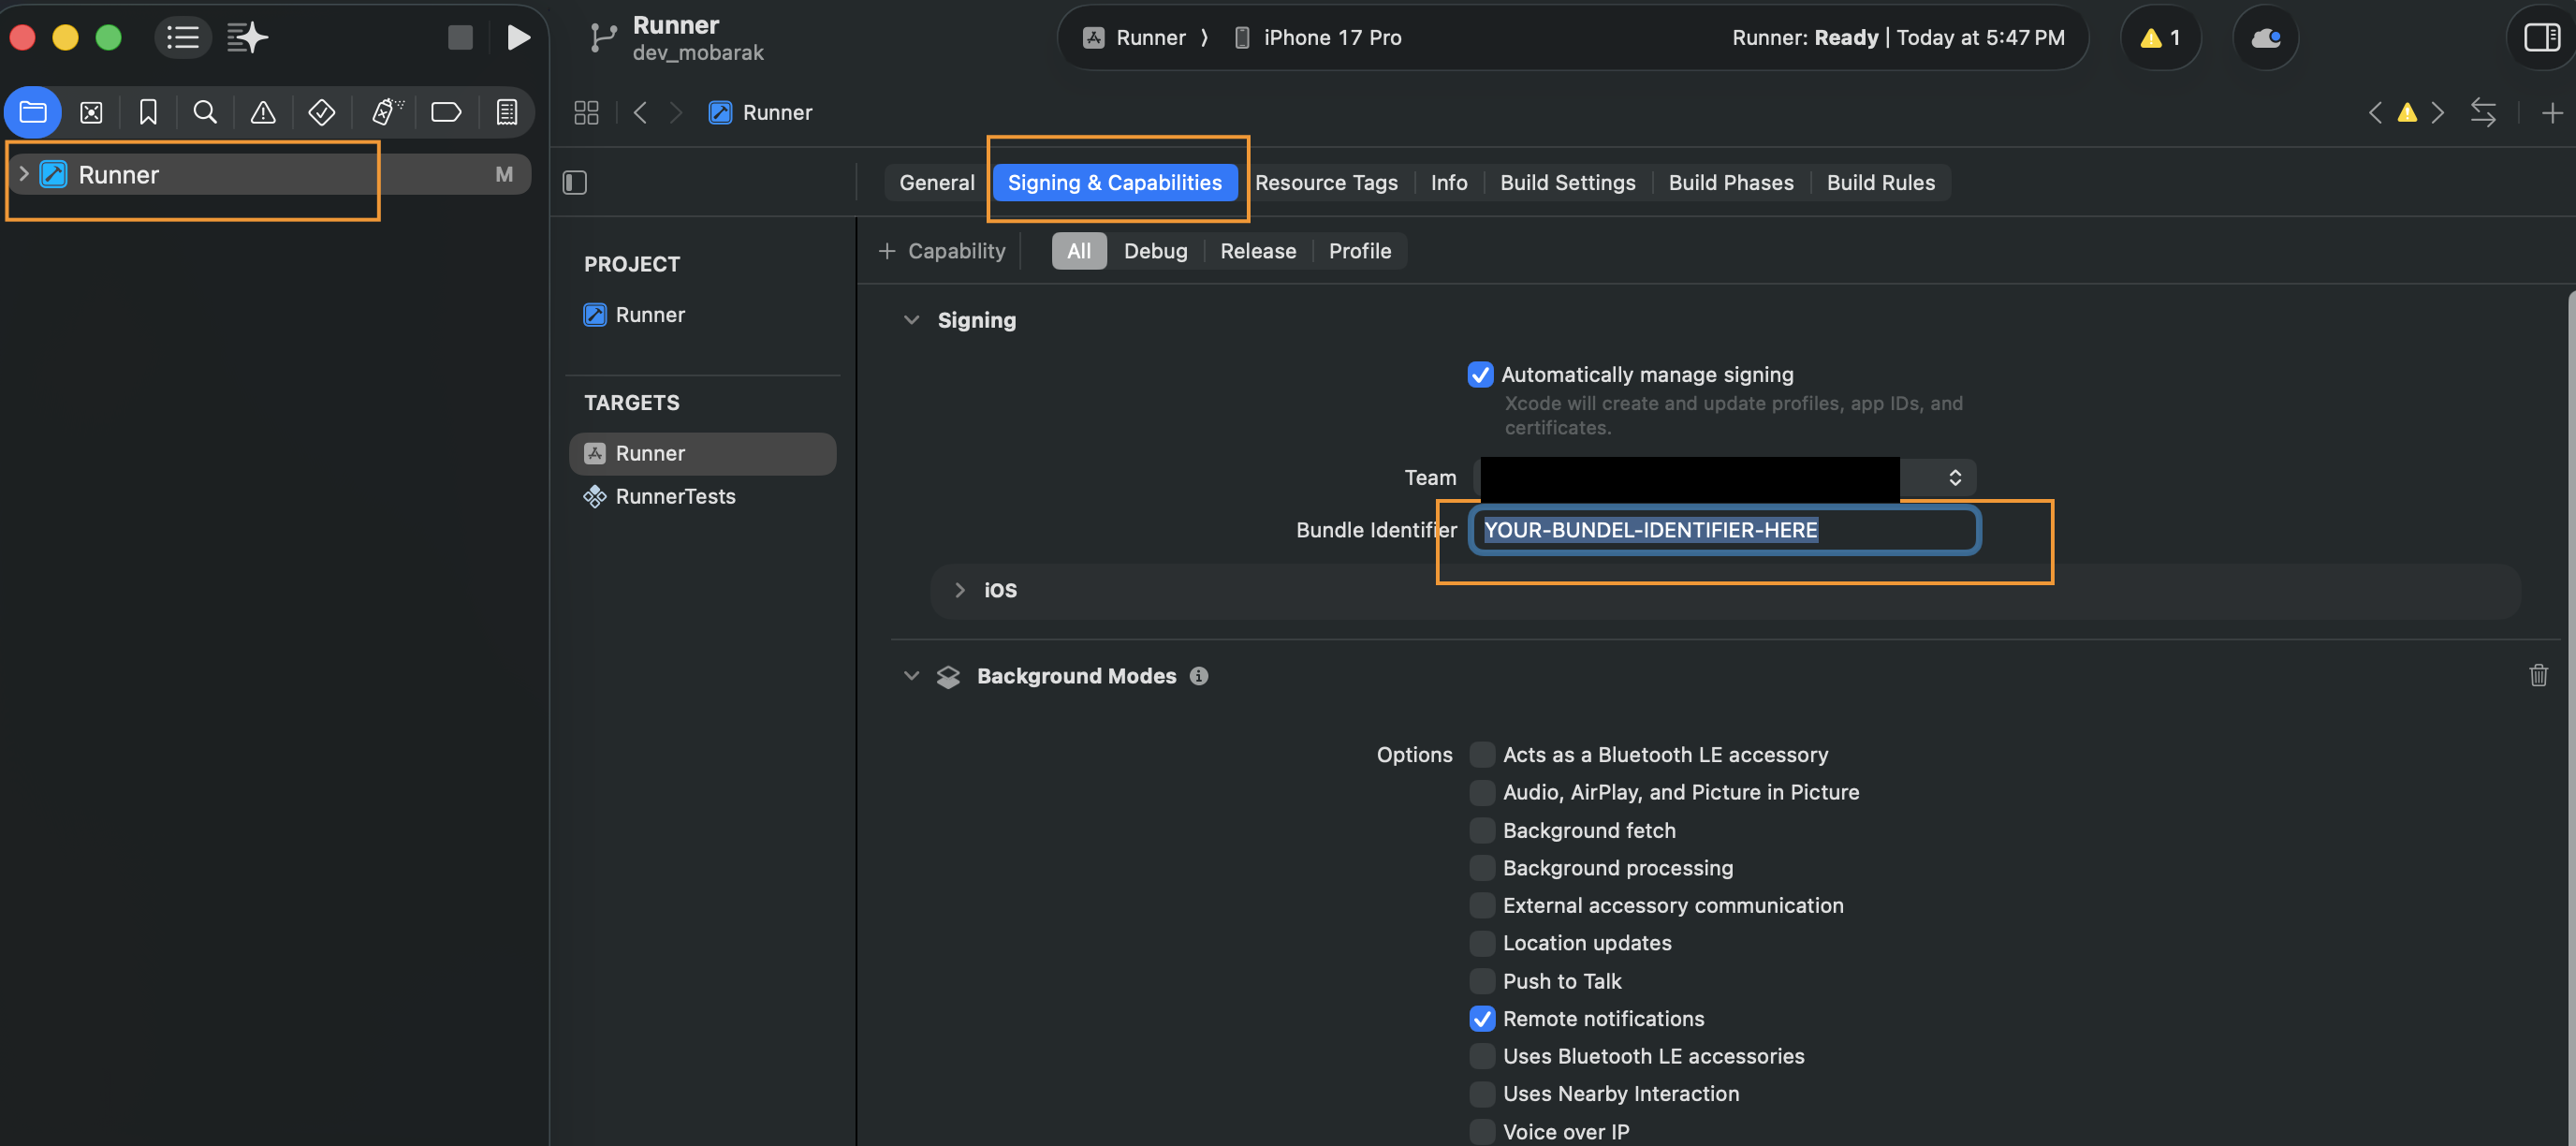
Step 5 — iOS: Change Bundle Identifier in Xcode
- Open ios/Runner.xcworkspace in Xcode.
- Select the Runner target → General tab.
- Set Bundle Identifier to
com.yourcompany.foodlay.
Step 6 — iOS: Update Info.plist
// ios/Runner/Info.plist
<key>CFBundleIdentifier</key>
<string>com.yourcompany.foodlay</string>
Step 7 — Clean and rebuild
flutter clean
flutter pub get
flutter run
After renaming, re-register the new package in Firebase and re-download
google-services.json and GoogleService-Info.plist.Setup Firebase for Push Notification
Use one Firebase project for all apps (Customer, Deliveryman, Admin). Add
multiple apps under the same project.
Prerequisites
- Change your package name/bundle ID first.
- Create a Firebase project at console.firebase.google.com.
Install packages & configure
- Add Firebase packages and run the FlutterFire CLI to generate lib/firebase_options.dart
dart pub add firebase_core firebase_messaging
dart pub global activate flutterfire_cli
firebase login
flutterfire configure
Android
- Register your Android app in Firebase using the exact applicationId (package name) from android/app/build.gradle.
- Add SHA‑1 and SHA‑256 fingerprints (from Gradle signing report or Play Console) for reliable delivery.
- Download google-services.json and place it at android/app/google-services.json (replace if exists).
- Ensure the Google Services Gradle plugin is applied in android/app/build.gradle.
- Create a solid white notification icon named notification_icon.png under android/app/src/main/res/drawable/.
- Targeting Android 13+: request POST_NOTIFICATIONS permission at runtime in your app code.
iOS
- Register your iOS app in the same Firebase project with your Bundle Identifier.
- Download GoogleService-Info.plist and add it to ios/Runner (ensure it is included in the Runner target in Xcode).
- Enable Push Notifications and Background Modes → Remote notifications under Signing & Capabilities.
- In Apple Developer, create an APNs Auth Key (.p8), then upload Key ID and Team ID to Firebase → Project Settings → Cloud Messaging.
- On iOS, notifications require user permission; request it at app startup.
Request permission & get token
- Request permission (iOS) and retrieve the device FCM token to test delivery.
final settings = await FirebaseMessaging.instance.requestPermission(
  alert: true, badge: true, sound: true,
);
final token = await FirebaseMessaging.instance.getToken();
print('FCM token: $token');
Send a test notification
- Build and run on a real device.
- Open Firebase → Cloud Messaging → Send test message to the device token.
- Android requires Google Play services; iOS requires a real device (simulator cannot receive push).
Troubleshooting
- Token is null (iOS): verify APNs key uploaded, Push/Background modes enabled, run on a real device.
- Missing google-services.json: ensure file path is android/app/google-services.json.
- No notification on Android 13+: request POST_NOTIFICATIONS permission at runtime.
- Stuck delivery: reinstall the app after configuration changes and restart the IDE.
Android Secrets
- Create android/app/src/main/res/values/secrets.xml with required keys.
- Keys: google_maps_api_key, facebook_app_id, facebook_client_token
<resources>
  <string name="google_maps_api_key">YOUR_KEY</string>
  <string name="facebook_app_id">YOUR_APP_ID</string>
  <string name="facebook_client_token">YOUR_TOKEN</string>
</resources>
After setup, restart your IDE, uninstall any previously installed app, and test
on a real device (emulators/simulators do not receive push on iOS).
Add Google Map API Key
If your map key was created before March 1, 2025, enable Routes API and
Places API (New).
Android
<meta-data android:name="com.google.android.geo.API_KEY" android:value="YOUR_MAP_API_KEY_HERE"/>
iOS
GMSServices.provideAPIKey("YOUR_MAP_API_KEY_HERE")
Web
<script src="https://maps.googleapis.com/maps/api/js?key=YOUR_MAP_API_KEY_HERE"></script>
Quick Start
Pick a device
- Android: start an emulator from AVD Manager or connect a device with USB debugging enabled.
- iOS: open Simulator from Xcode (or connect a real device with Developer Mode enabled).
Run from IDE
- Open the project in Android Studio or VS Code.
- Select a target device from the device dropdown.
- Click Run ▶ to build and launch in debug mode.
Run from terminal
flutter pub get
flutter run
Common checks
- Accept Android SDK licenses if prompted.
flutter doctor --android-licenses
- Verify a device is available.
flutter devices

Android & iOS Config
Android
- App ID: set applicationId under defaultConfig in android/app/build.gradle.
- App name: set android:label in android/app/src/main/AndroidManifest.xml.
- SDK levels: set minSdkVersion and targetSdkVersion in build.gradle.
- Signing: create a keystore, add key.properties, and reference it in the release signingConfig.
- Release build: flutter build apk or flutter build appbundle.
iOS
- Open ios/Runner.xcworkspace in Xcode.
- Bundle Identifier: set under General; select Team to enable automatic signing.
- Deployment Target: choose a supported iOS version.
- Capabilities: enable Push Notifications and Background Modes if using FCM.
- Release build: flutter build ipa or archive via Xcode Product → Archive.
Localization & RTL
Add New Language
- Create a new ARB file under lib/l10n/arb, for example: lib/l10n/arb/app_es.arb
- Copy all keys from app_en.arb into your new file.
- Translate values after the colon only; keep keys and placeholders unchanged.
- Use valid ISO language codes (ISO‑639) and country codes (ISO‑3166) when needed. Reference: ISO codes list
lib/l10n/arb/app_es.arb
{
  "@@locale": "es",
  "office": "Oficina",
  "welcome": "Bienvenido"
}
- Generate localizations (or hot‑restart if your IDE runs gen‑l10n automatically):
flutter gen-l10n
- Ensure the locale is included in supportedLocales. If you use AppLocalizations.supportedLocales, this is automatic.
MaterialApp(
  supportedLocales: AppLocalizations.supportedLocales,
  // Or explicitly:
  // supportedLocales: const [Locale('en'), Locale('es')],
)
Remove Existing Language
- Delete the ARB file for the language from lib/l10n/arb.
- Regenerate localizations: flutter gen-l10n
- If locales are manually listed, remove the Locale entry from supportedLocales.
Make Default Language
- Set a fixed default by specifying locale on your MaterialApp:
MaterialApp(
  locale: const Locale('es'),
)
- Or rely on device language by omitting locale and keeping supportedLocales up to date.
RTL Support
- RTL locales (e.g., ar) are supported automatically by Flutter’s Directionality and localization system.
- Use directional widgets and avoid hard‑coding text directions in custom layouts.
Theme & Branding
Change App Color
- Open <project>/lib/theme/light_theme.dart and set primaryColor, foregroundColor, secondary, etc.
- Open <project>/lib/theme/dark_theme.dart and mirror the same updates for dark mode.
- Keep contrast and accessibility in mind for text and icons.
Change App Font
- Download a font family you like. See free options at Google Fonts.
- Unzip and copy TTF/OTF files to <project>/assets/font/
- Declare the font in pubspec.yaml under flutter → fonts.
flutter:
  fonts:
    - family: YOUR_FONT_FAMILY_NAME
      fonts:
        - asset: assets/font/YOUR_FONT_FILE_NAME.ttf
          weight: YOUR_FONT_WEIGHT
- Set the font family in <project>/lib/util/app_constants.dart
static const String fontFamily = 'YOUR_FONT_FAMILY_NAME';
Change Notification Sound
- Android: replace <project>/android/app/src/main/res/raw/notification.wav with your file. Keep the filename notification.wav
- If there is notification.mp3 or notification.wav under <project>/assets, replace it too and keep the filename unchanged.
- Use a short and small audio file to avoid delivery issues.
Change Onboarding Text and Graphics
- Open lib/l10n/arb/app_en.arb. Update values for keys such as "on_boarding_1_title" and "on_boarding_1_description". Do not change keys.
"on_boarding_1_title": "YOUR_PREFERRED_TITLE",
"on_boarding_1_description": "YOUR_PREFERRED_DESCRIPTION"
- Repeat for other languages (e.g., app_es.arb) and regenerate: flutter gen-l10n
- Graphics: replace <project>/assets/images/onboard_1.png, onboard_2.png, onboard_3.png with your PNGs using the same names.
Core Features
- Dashboard tabs: Home, Menu, Cart, Offers, Account
- Onboarding, Splash, Search with filters
- Authentication: password, OTP verification, setup password
- Profile and settings, wishlist
- Address selection and delivery info with Maps
- Checkout and payment (webview-based flows)
- Orders, details, tracking, confirmation
- Wallet, loyalty points, referral
- Notifications (Firebase) and local notifications
- Chat and conversations
- File viewer (images/videos), About/Terms/Privacy/Refund
Architecture
- Routing with GoRouter and custom transitions
- State with Bloc/HydratedBloc; DI via get_it + injectable
- ThemeLocalizationWrapper and GlobalOverlayWrapper
- Firebase initialized in main with NotificationHelper
- Error handling via Catcher2 (debug/release configs)
Routes
- Shell: Dashboard
- Home: /home
- Menu: /menu
- Cart: /cart
- Offers: /offers?tab=0..n
- Account: /account
- Splash: /splash
- Onboarding: /onboarding_screen
- Search Result: /search_result?filters=&query=
- Login: /login
- Forget Password Login: /forget_login
- Set Up Password: /set_up_password?uniqueIdentifier=&otp=
- Verification: /verification?uniqueIdentifier=&isFromOtp=
- Edit Profile: /edit_profile
- Contact Us: /contact_us
- Terms & Condition: /terms_and_condition
- Privacy Policy: /privacy_policy
- Refund Policy: /refund_policy
- FAQ: /faq
- Settings: /settings
- Settings → Setup Password: /settings/settings_setup_password?isUpdated=
- Notification: /notification
- Wishlist: /wishlist
- Wallet: /wallet
- Loyalty Point: /loyalty_point
- Referral: /referral
- Checkout: /checkout
- Checkout → Update Delivery Info: /checkout/update_delivery_info
- Checkout → Address: /checkout/checkout_address?address=&showDeliveryArea=
- Checkout → Personal Info: /checkout/personal_info
- Payment: /payment?amount=
- My Orders: /my_orders
- My Orders → Details: /my_orders/order_details?data=&orderId=&isTrack=
- Order Confirmation: /order_confirmation?orderId=&readableId=&phone=&countryDialCode=
- Chat: /chat
- Chat → Conversation: /chat/conversation?chatName=&chatId=&imageUrl=&isBusiness=
- File Viewer: /file_viewer?data=&initialIndex=
- About Us: /about_us
- Select Location: /select_location
- Recommended View All: /recommended_view_all
- WebView: /webview?data=
Project Structure
- lib/config/route: route_config.dart
- lib/config/theme: light_theme.dart, dark_theme.dart, custom_theme_colors.dart
- lib/config/util: assets.gen.dart, fonts.gen.dart, styles.dart, constants
- lib/core: helpers, DI, notifications, overlays
- lib/features: screens for home, menu, cart, checkout, orders, etc.
- lib/l10n/arb: app_en.arb, app_ar.arb, app_bn.arb, app_es.arb, app_hi.arb
Run and Debug
From IDE
- Open the project in Android Studio or VS Code.
- Select a device (emulator/simulator/USB) from the device picker.
- Click Run ▶ to start in debug mode. Use hot reload to see UI changes instantly.
- Set breakpoints in Dart files and inspect Variables, Call Stack, and Watch.
- Open Flutter DevTools from the IDE for Performance, Memory, and Logs.
From terminal
flutter pub get
flutter devices
flutter run
- Hot reload: press r. Hot restart: R. Quit: q.
- Pick a specific device: run flutter devices then flutter run -d <deviceId>.
- Attach to a running app (e.g., started from IDE):
flutter attach
Logging
- View framework/app logs:
flutter logs
- Android (advanced):
adb logcat | grep -i your.package.name
- iOS Simulator (advanced):
xcrun simctl spawn booted log stream --predicate 'process == "Runner"'
Profile performance
- Run with instrumentation and open DevTools → Performance/CPU profiler:
flutter run --profile
Clean & rebuild
- If you see odd build or dependency errors, clean and rebuild:
flutter clean
flutter pub get
For push notifications and certain device features, use a real device. iOS
simulators cannot receive APNs push.
Build and Release
Distribution: The
flutter build apk commands
below produce a local binary for testing on your own devices only. For public release, publish through the
official Google Play Store
(upload the .aab) and the Apple App Store. Do not host or share raw .apk download links publicly.
Android
- Ensure release signing is configured. See Signing & Release section.
- Release APK (quick test on device):
flutter build apk --release
- App Bundle (required for Play Store):
flutter build appbundle
- Secure release (obfuscation + symbols):
flutter build apk --release --obfuscate --split-debug-info=build/app/outputs/symbols
- Secure App Bundle (preferred for Play Store):
flutter build appbundle --release --obfuscate --split-debug-info=build/app/outputs/symbols
Keep the debug symbol files from --split-debug-info in a safe location. They are required to de‑obfuscate crash stack
traces (e.g., Crashlytics, Play Console).
- Split per ABI (smaller APKs for distribution outside Play):
flutter build apk --split-per-abi
- Output paths:
build/app/outputs/flutter-apk/app-release.apk
build/app/outputs/bundle/release/app-release.aab
- Install to a connected device for verification:
flutter install -d <deviceId>
- Update version before release in android/app/build.gradle:
defaultConfig {
    versionCode 2
    versionName "1.1.0"
}
iOS
- Prerequisites: valid Apple Developer account, signing certificates, and provisioning in Xcode.
- Build IPA (signed) from CLI:
flutter build ipa
- Archive and upload via Xcode:
- Open ios/Runner.xcworkspace → select a physical device or Any iOS Device (Archive) → Product → Archive.
- In Organizer → Distribute App → App Store Connect or Ad Hoc as needed.
- Update version and build number in Xcode (General → Version, Build) before archiving.
- Output path for CLI build:
build/ios/ipa/Runner.ipa
Tip: Perform a final test on a release build (Android and iOS) to validate
push notifications, background behavior, and performance before submitting to stores.
Signing & Release
Android: Keystore & Signing
- Create a private keystore (keep it safe; do not commit to git):
keytool -genkeypair -v -keystore ~/keystores/foodlay-release.keystore \
  -alias foodlay -keyalg RSA -keysize 2048 -validity 36500
- Create key.properties in the project root (git‑ignored):
storePassword=YOUR_STORE_PASSWORD
keyPassword=YOUR_KEY_PASSWORD
keyAlias=foodlay
storeFile=/ABSOLUTE/PATH/TO/foodlay-release.keystore
- Load and apply signing in android/app/build.gradle:
def keystoreProperties = new Properties()
def keystorePropertiesFile = rootProject.file('key.properties')
if (keystorePropertiesFile.exists()) {
  keystoreProperties.load(new FileInputStream(keystorePropertiesFile))
}

android {
  signingConfigs {
    release {
      storeFile file(keystoreProperties['storeFile'])
      storePassword keystoreProperties['storePassword']
      keyAlias keystoreProperties['keyAlias']
      keyPassword keystoreProperties['keyPassword']
    }
  }
  buildTypes {
    release {
      signingConfig signingConfigs.release
      minifyEnabled true
      shrinkResources true
      proguardFiles getDefaultProguardFile('proguard-android-optimize.txt'), 'proguard-rules.pro'
    }
  }
}
Security Never commit your keystore or key.properties.
Store them in a secure location (password manager or secrets storage).
Android: Play Console
- Use Play App Signing (recommended). Upload your first .aab to register the upload key.
- Complete store listing: app details, screenshots, content rating, privacy policy, and data safety.
- Set versionCode/versionName, and test the release build on physical devices before rollout.
iOS: Signing & Provisioning
- Open ios/Runner.xcworkspace in Xcode. In Runner target → Signing & Capabilities:
- Select your Team and enable Automatically manage signing.
- Ensure a valid Bundle Identifier and a Distribution profile for release builds.
- Capabilities as required by the app (e.g., Push Notifications, Background Modes) must be enabled.
iOS: Archive & Submit
- Update Version and Build in Xcode (General tab).
- Product → Archive. In Organizer → Distribute App → App Store Connect → Upload.
- Complete App Store Connect metadata, screenshots, and privacy questionnaires.
- Wait for processing, then submit for review.
Release Checklist
- Update app icons, splash, and display name for production.
- Set production API base URLs and disable verbose logging.
- Verify push notifications, deep background behaviors, and performance on release builds.
- Review privacy permissions prompts and descriptions (Android/iOS) match features used.
- Backup your keystore and credentials securely.
API Usage
Base URL & Environments
- Define an API base URL and keep separate values for dev, stage, and prod.
- Do not hardcode secrets in code or assets; inject at build time or load securely.
- Pass runtime values when needed:
flutter run --dart-define=API_BASE_URL=https://api.example.com
Authentication
- Use token-based auth with short-lived access token and refresh token.
- Attach Authorization header to protected requests:
Authorization: Bearer <ACCESS_TOKEN>
- Refresh on 401/expired token. Queue pending calls during refresh; logout on refresh error.
- Store refresh tokens in platform-secure storage; keep access token in memory when possible.
Common headers
- Accept: application/json
- Accept-Language: current locale code (e.g., en, es, ar)
- X-App-Version: app version/build for backend diagnostics
Pagination & filtering
- Use page/limit or cursor parameters; maintain hasMore based on response.
- Always debounce search queries and cache recent pages to reduce network load.
Error handling
- Map HTTP codes to user-friendly states: 400 validation, 401 auth, 403 forbidden, 404 not found, 429 rate limit, 5xx server.
- Show actionable messages and retry options where safe; fall back to cached data when possible.
Retry, timeout, and backoff
- Set sensible connect/read timeouts to avoid hung requests.
- Use exponential backoff with jitter on transient errors (e.g., 429/5xx). Avoid retrying non-idempotent POSTs unless supported.
Security
- Always use HTTPS in production; reject plain HTTP.
- Never log tokens or personally identifiable information.
- Persist sensitive values with platform-secure storage APIs.
Sample requests (cURL)
- Login to obtain tokens:
curl -X POST https://api.example.com/api/v1/auth/login \
  -H "Content-Type: application/json" \
  -d '{"email":"user@example.com","password":"your_password"}'
- Fetch a paginated list with locale header:
curl "https://api.example.com/api/v1/products?page=1&limit=20" \
  -H "Authorization: Bearer <ACCESS_TOKEN>" \
  -H "Accept: application/json" \
  -H "Accept-Language: en"
Testing
Unit & Widget Tests
- Place tests under the test/ directory and use the *_test.dart naming convention.
- Run all tests:
flutter test
- Run a single file or filter by name:
flutter test test/path/to/widget_test.dart
flutter test --plain-name "renders product card"
- Increase concurrency to speed up CPU‑bound suites (adjust based on your machine):
flutter test --concurrency=4
Integration Tests
- Create tests under integration_test/. Start an emulator/simulator or connect a device.
- Run all integration tests (picks an available device):
flutter test integration_test
- Run on a specific device (find IDs with flutter devices):
flutter test integration_test -d <deviceId>
Coverage
- Generate coverage and view an HTML report (install lcov first):
flutter test --coverage
genhtml coverage/lcov.info -o coverage/html
open coverage/html/index.html
Best Practices
- Keep unit tests pure and deterministic; avoid real network calls.
- Use fakes or dependency injection to isolate business logic from I/O.
- For widgets, prefer golden tests for stable UI states; update goldens intentionally.
Update Procedure
When a new version is released, you will receive the update package containing either changed files only or the full source code. You can choose whichever method suits your setup best.
Before You Update
Always back up your current project before applying any update. If you have
made custom modifications, document them so you can reapply after updating.
- Back up your entire project folder
- Note any custom changes you have made to the source code
- Ensure your development environment meets the latest version's requirements
- Download the update package from your purchase account
Option A: Apply Changed Files Only
This method is recommended if you have made custom modifications and want to preserve them.
- Step 1: Extract the update package. Locate the folder containing only the changed files.
- Step 2: Copy the changed files into your existing project, replacing the corresponding files in their respective directories.
- Step 3: If you have custom modifications in any of the replaced files, manually merge your changes back into the updated files.
- Step 4: Run flutter pub get to update dependencies.
- Step 5: Clean and rebuild the project:
flutter clean
flutter pub get
flutter run
Option B: Replace with Full Source Code
This method is recommended for a clean update when you have not made custom modifications.
- Step 1: Extract the update package. Locate the full source code folder.
- Step 2: Replace your entire project directory with the new full source code.
- Step 3: Restore your configuration files and assets:
- Firebase configuration files (google-services.json, GoogleService-Info.plist)
- App icons and splash screen assets
- Package name / bundle identifier settings
- API base URL and any environment-specific values
- Signing keys and keystore files
- Step 4: Run flutter pub get to install dependencies.
- Step 5: Clean and rebuild the project:
flutter clean
flutter pub get
flutter run
Post-Update Checklist
- Verify the app builds and runs without errors on both Android and iOS
- Test core functionality: login, browsing menu, placing orders, and payments
- Confirm push notifications are working
- Validate that all custom modifications have been reapplied (if using Option A)
- Run on a physical device to verify full functionality before releasing
Troubleshooting
Quick checks
- Verify setup:
flutter doctor -v
- Clean caches and re-fetch deps:
flutter clean
flutter pub get
Android build issues
- Gradle/AGP mismatch: update Gradle wrapper and Android Gradle Plugin together.
android/gradle/wrapper/gradle-wrapper.properties
distributionUrl=https\://services.gradle.org/distributions/gradle-8.x-all.zip
- Update AGP in android/build.gradle:
classpath "com.android.tools.build:gradle:8.x.y"
- compileSdk/targetSdk errors: align to supported SDK levels in android/app/build.gradle.
- Activity exported error (Android 12+): set exported on activities with intent filters.
<activity android:name=".MainActivity" android:exported="true">...</activity>
- INSTALL_FAILED_VERSION_DOWNGRADE or SIGNATURE conflict: uninstall previous app first.
adb uninstall your.package.name
- google-services.json not found: ensure file exists at android/app/google-services.json.
iOS build issues
- CocoaPods errors: install/update pods inside ios/ then re-run build.
cd ios
pod repo update
pod install --repo-update
- Clean DerivedData when Xcode behaves inconsistently:
rm -rf ~/Library/Developer/Xcode/DerivedData
- Deployment target mismatch: align platform in Podfile with Xcode target.
- Signing/profile issues: set Team, Bundle Identifier, and enable required Capabilities.
Firebase push
- No token on iOS: use a real device, enable Push/Background Modes, upload APNs key to Firebase.
- Android 13+ no notifications: request POST_NOTIFICATIONS at runtime.
- After changing configs, uninstall app and reinstall to refresh tokens and permissions.
Network & SSL
- CERTIFICATE_VERIFY_FAILED: use HTTPS endpoints, check device date/time, and avoid self‑signed certs in prod.
- Timeouts/intermittent errors: add sensible connect/receive timeouts and retry with backoff for idempotent calls.
Code generation
- Generated files missing or stale:
flutter pub run build_runner build --delete-conflicting-outputs
Maps
- Map key missing: add google_maps_api_key to secrets.xml and iOS key via GMSServices.provideAPIKey.
Links
Version History
Version 2.0 Latest
- Added Loyalty Points — earn points on orders, redeem via wallet
- Added Wallet — top-up, spend, and view transaction history
- Added Referral System — share referral codes for rewards
- Added Wishlist — save favourite items for later
- Added Real-time Chat with support team
- Added Speech-to-Text search input
- Improved home screen layout and category browsing
- Improved checkout flow with address auto-complete via Google Maps
- Bug fixes and performance improvements
Version 1.0.0
- Initial release
- Food browsing by category, cuisine, and search
- Cart and checkout with delivery address selection
- Real-time order tracking with Google Maps
- Multiple payment methods including Stripe
- Order history and reorder support
- Firebase push notifications
- Social login (Google, Facebook, Apple)
- Multi-language support (EN, BN, HI, AR, ES)
- Dark and light theme support